
How to Organize a Donation Drive in Your Community
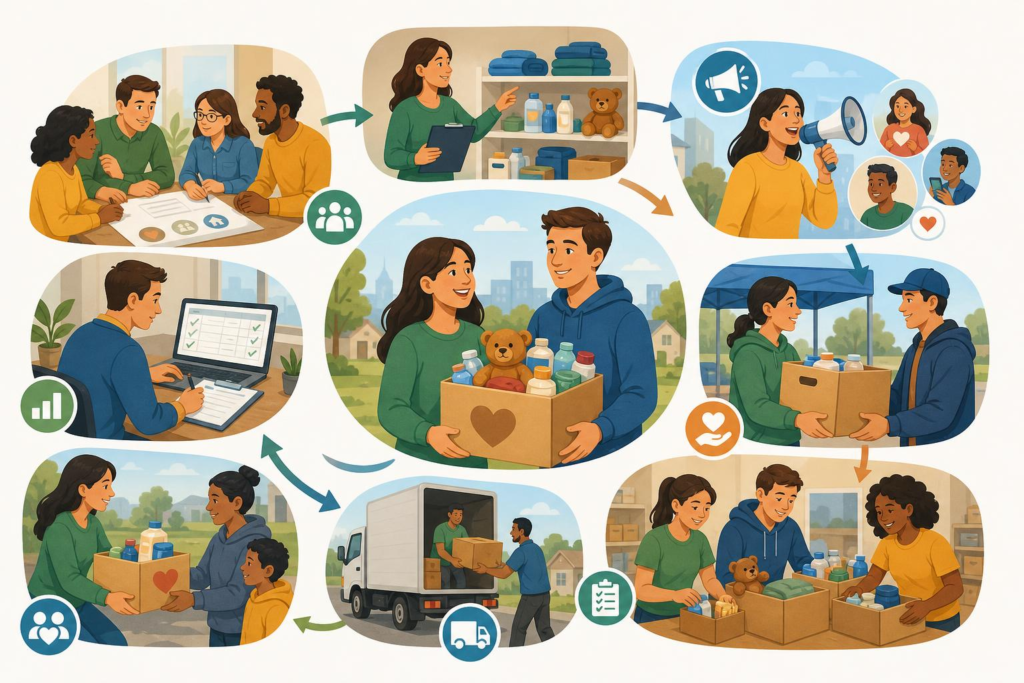
If you are wondering how to organize a donation drive, the short answer is this: start with a real community need, get partner approval first, choose a narrow list of accepted items, and build a simple system for promotion, collection, sorting, records, and distribution. A good drive does not need to be flashy. It needs to be clear, respectful, and easy for people to support. When the plan is organized well, donors feel confident, volunteers know what to do, and the people receiving help are served with dignity.
This guide is written for churches, couples, volunteers, community leaders, and ministry teams who want practical steps without the guesswork. It also includes a gentle reminder that the strongest donation drives usually happen when you listen first, plan carefully, and keep the process simple.
Start with the need, not the pile of donations
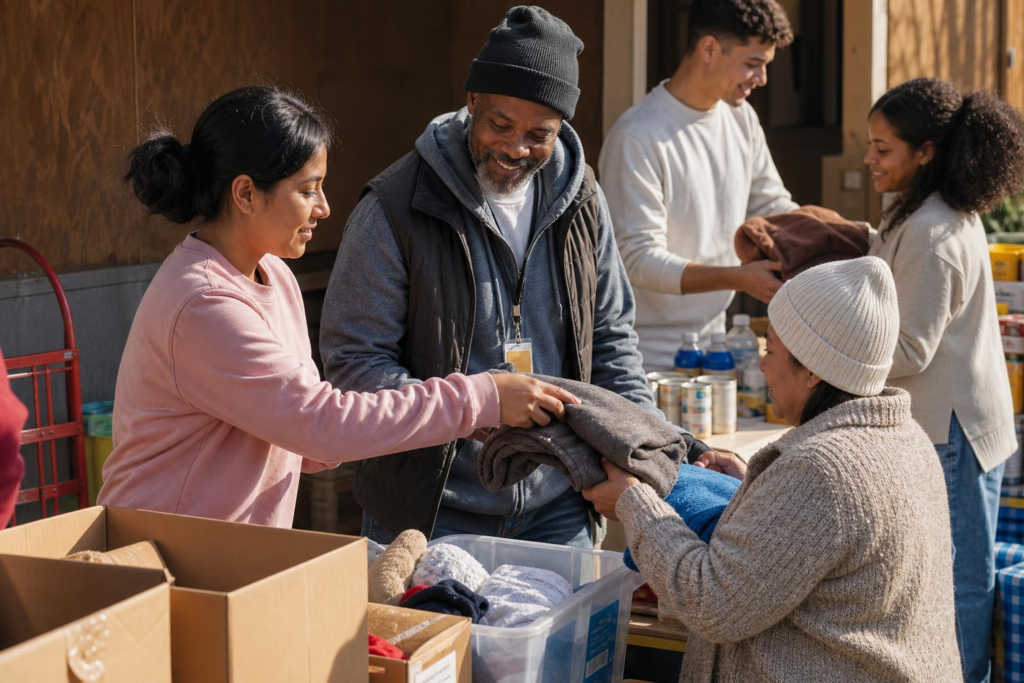
The first step in how to organize a donation drive is deciding what problem you are trying to solve. A drive is much easier to manage when it supports one clear purpose, such as school supplies, pantry basics, winter essentials, or hygiene items. If you try to collect “anything people want to give,” sorting becomes harder, storage gets messy, and the final distribution can feel less useful.
Ask the receiving organization what is needed most right now. Feeding America recommends checking with a local food bank for current guidance on needed items, donation procedures, and drop-off options, and it specifically advises donating only unexpired, unopened items in original packaging for food drives. That same principle of clarity applies to other kinds of drives too: receive first, then collect. (feedingamerica.org)
Ask one planning question before you announce anything
Question: What is the one concrete outcome we want this drive to achieve?
Example: We want to help 50 families leaving emergency shelter with basic household and hygiene items over a two-week collection period.
Short answer: Define the outcome clearly.
Get partner approval and define the role of each group
Before public promotion begins, get approval from the receiving partner, host site, or ministry leader. This matters because the partner may have limits on storage, preferred items, delivery schedules, volunteer access, or intake procedures. It also keeps everyone aligned on what will happen after the items arrive.
For a church or ministry setting, approval should cover three things: who is receiving the goods, who is responsible for oversight, and who will make decisions if the plan needs to change. If your drive supports a local shelter, school, pantry, or outreach ministry, ask how they want deliveries labeled and whether they need volunteers to sort on-site or off-site. If the drive is connected to Ministries of Love, a good next step may be to review the organization’s involvement pathways through Get Involved or, if the project is donation-supported, Cash Donation.
Important: If the drive touches legal, tax, nonprofit-compliance, or state-specific rules, those details should be reviewed by a human before publication or launch. Do not assume the same requirements apply everywhere.
Partner approval checklist
- Confirmed receiving organization
- Approved item list
- Drop-off date and location
- Storage and sorting plan
- Distribution schedule
- Contact person for questions
Choose accepted items and set clear rules
One of the most important parts of how to organize a donation drive is narrowing the list of accepted items. A short list is kinder to donors, easier for volunteers, and more helpful for the people receiving assistance. It also reduces waste from unsuitable donations.
As a rule, accepted items should be usable, clean, current, and appropriate for the recipient group. For food drives, Feeding America’s guidance to donate only unexpired, unopened items in original packaging is a strong standard to borrow. For clothing, household goods, or personal care items, the receiving partner should decide what condition is acceptable and what cannot be used. (feedingamerica.org)
| Donation drive decision | Best practice | Why it helps |
|---|---|---|
| Accepted items | Limit to a short, specific list | Makes promotion and sorting simpler |
| Food donations | Use unexpired, unopened, original packaging | Improves safety and usability |
| Collection window | Set a clear start and end date | Helps volunteers plan and prevents overflow |
| Distribution | Match items to a known recipient plan | Reduces waste and confusion |
Promote the drive in a simple, respectful way
Your promotion should answer five basic questions: what is needed, who it helps, where to drop items, when to bring them, and what condition the items must be in. Keep the message plain. People are more likely to help when they do not have to decode a long flyer.
Use the channels your community already trusts: church bulletins, text messages, email lists, social media, school newsletters, and announcements during services or meetings. If volunteers are promoting the drive, give them a one-paragraph script and a short FAQ so everyone says the same thing. That protects the effort from mixed messages.
If the drive is connected to a faith community, keep the tone welcoming and inclusive. A donation drive should make space for people of every background who want to help. No one needs to share the same beliefs to contribute to a shared need.
What should a flyer include?
Question: What belongs on a donation drive flyer so people do not have to guess?
Example: The flyer lists the approved items, the drop-off window, the location, the contact person, and a note that only new or gently used items in usable condition will be accepted.
Short answer: Keep it short and specific.
Set up collection, sorting, and records before the first box arrives
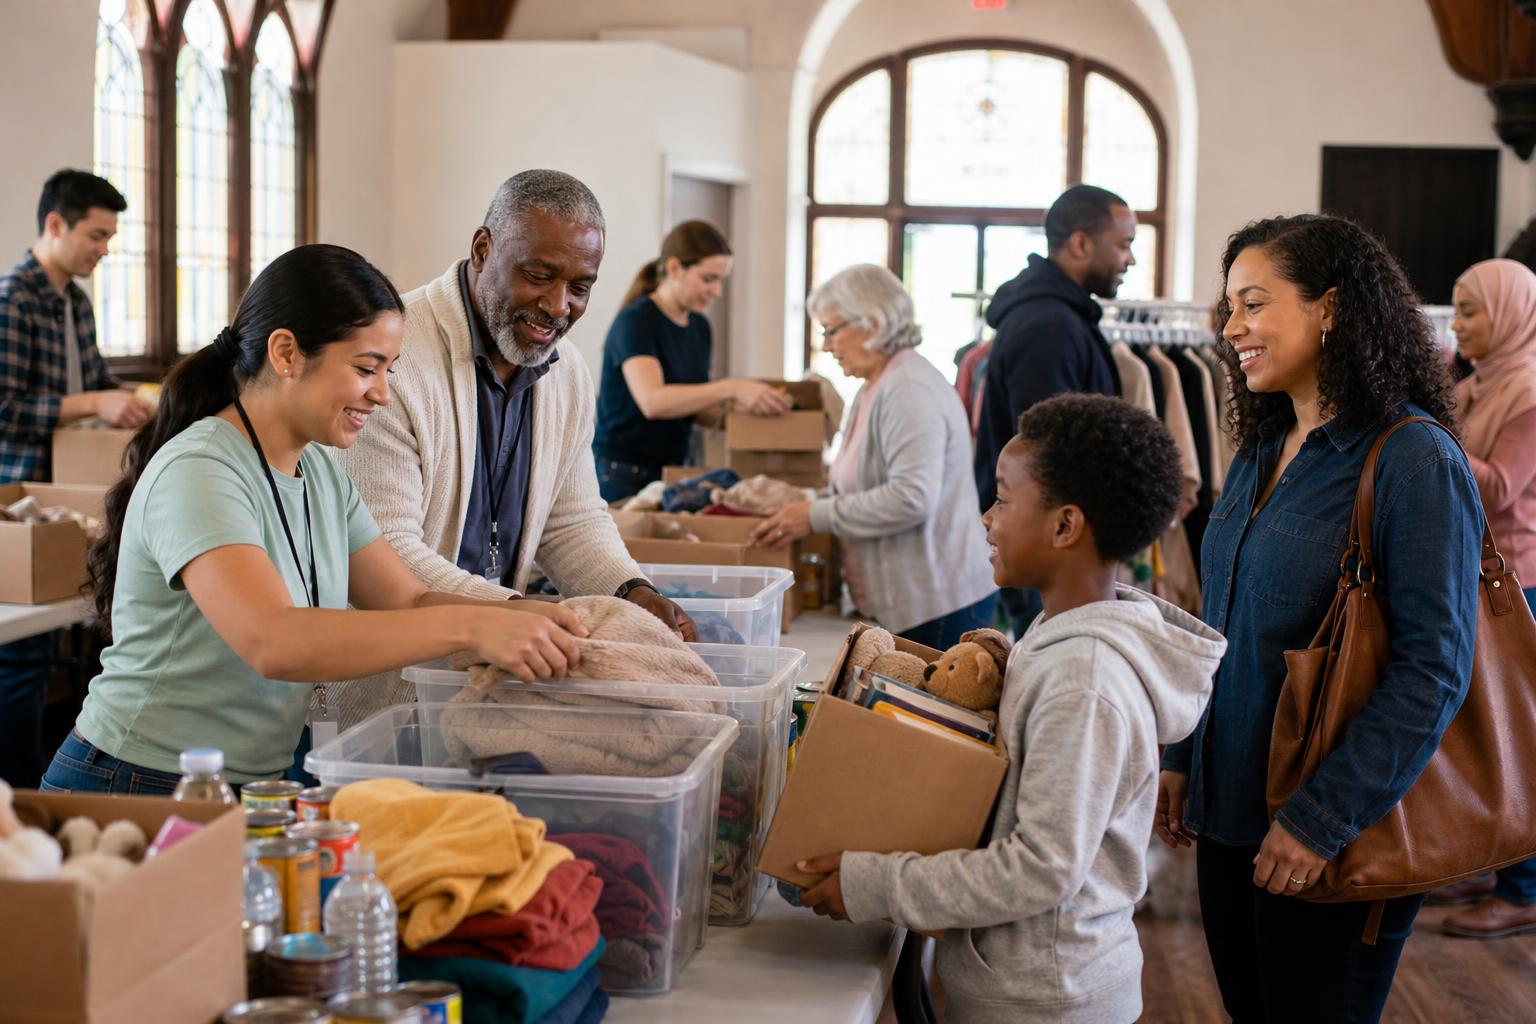
The collection stage is where a lot of drives become either smooth or stressful. Prepare the space before the first donation comes in. You will want labeled tables, boxes or bins for each item type, tape, markers, gloves if needed, and a simple sign-in system for volunteers.
Volunteers of America describes hosting a drive as something a family, workplace, or community organization can do, and its materials point readers toward practical planning and delivery. That reinforces a simple truth: collection works best when the logistics are known before donations start arriving. (voa.org)
Sorting should happen as items are received or as soon as possible after collection ends. Separate acceptable items from damaged, expired, or unusable ones right away, and document what was donated. Records do not have to be complicated. A simple spreadsheet or paper log can note the item type, number of units, date received, and where the items were delivered.
Sorting-day checklist
- Label each table or bin
- Assign a lead volunteer
- Separate accepted and rejected items
- Count items by category
- Record totals in one place
- Prepare boxes for delivery
If you are handling food or disaster-relief supplies, the principle from CARE’s distribution work is worth noting: teams count items, record names, and make sure aid reaches the intended recipients with accountability. That is a helpful model for any community drive, even if your scale is much smaller. (care.org)
Plan distribution so help reaches the right people
Distribution should be decided before the collection ends. Otherwise, donation drives can stall in storage while volunteers wait to figure out where things should go. If the items are going to a shelter, pantry, school, or ministry, confirm the handoff time, access instructions, and the name of the person receiving the shipment.
Keep distribution fair and respectful. That means giving according to the needs and guidelines of the receiving partner, not according to who asked loudest or arrived earliest unless the plan specifically calls for that. If your drive includes vulnerable groups, check whether there are accessibility needs, language needs, or privacy concerns that should shape the handoff process.
When appropriate, write a brief thank-you note or include a simple inventory sheet with the delivery. That helps the receiving organization track what arrived and gives donors a sense that their gift was handled carefully.
Use records to learn from the drive, not just to count boxes
Good records make the next drive easier. After the donations are delivered, save a short report that includes what was collected, what was most needed, what was left over, what volunteers learned, and what should change next time. This is not about building bureaucracy. It is about stewardship.
Records also help you answer practical questions later: Which promotion channel worked best? Which items were donated in excess? Did the collection window need to be longer? Did the partner request a different packing format? The more honest the notes, the more useful the next effort will be.
If your community wants to continue serving together, Ministries of Love’s Get Support page may be a helpful next step for exploring compassionate assistance, and its involvement pathways can also help volunteers and donors find a place to serve. That kind of follow-through matters because a donation drive should be part of an ongoing habit of care, not a one-time burst of energy.
Common mistakes to avoid
Even well-meaning drives can stumble. The most common mistakes are collecting too many item types, failing to confirm the receiving partner’s needs, forgetting to sort before delivery, and leaving volunteers without clear instructions. Another common mistake is focusing on volume instead of usefulness. A smaller number of the right items is better than a mountain of things no one can use.
It is also wise not to promise more than you can deliver. If a drive may depend on a future donation program, inventory, volunteer count, or partner approval, say so clearly. Proposed plans are not the same as confirmed services. That honesty protects trust.
Conclusion: keep the process simple, clear, and humane
Knowing how to organize a donation drive is really about serving people well. Start with a real need, get partner approval, define accepted items, promote clearly, sort carefully, keep records, and deliver with dignity. When you keep the process simple and the goal specific, the whole community can participate with confidence.
If you are planning a drive through a church, ministry, or neighborhood group, remember this: generosity does not need to be complicated to be meaningful. A steady, respectful plan often does more good than a big plan that is hard to finish. And if you need a place to begin, review the broader community support options at Get Involved and consider whether a cash gift could help the work move forward through Cash Donation.
Frequently Asked Questions
What is the first step in organizing a donation drive?
The first step is confirming the real need and getting approval from the receiving partner. That keeps the drive focused and prevents collecting items nobody can use.
How do I choose what items to accept?
Choose a short list based on what the receiving organization actually needs. If you are collecting food, use a standard like unexpired, unopened items in original packaging.
Do I need permission to run a community donation drive?
Yes, in most cases you should get approval from the host site or receiving organization before promoting the drive. That helps with storage, drop-off, and distribution planning.
How should I track donations during the drive?
Use a simple log or spreadsheet to note item type, quantity, date received, and where the items were delivered. Basic records make sorting and reporting much easier.
Can a church or ministry host a donation drive without making it overly religious?
Yes, it can. A faith community can host a drive in a welcoming way that invites participation from people of any faith or no faith at all.
Leave a Reply